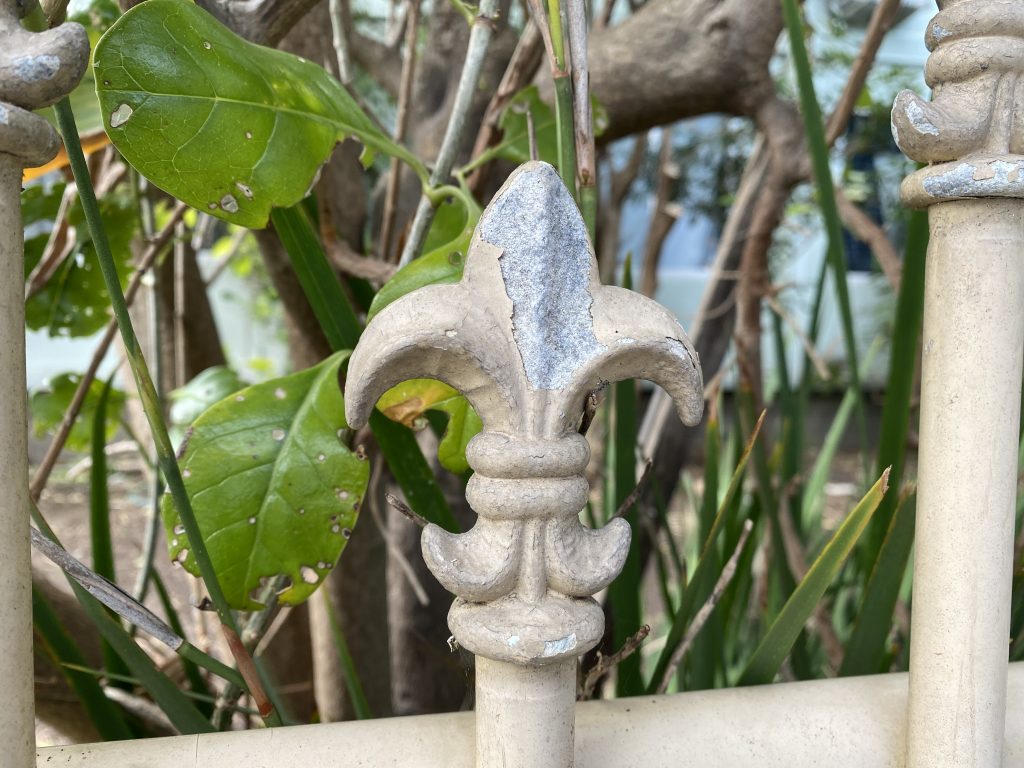
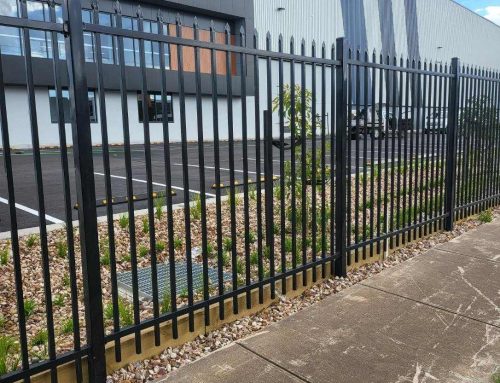
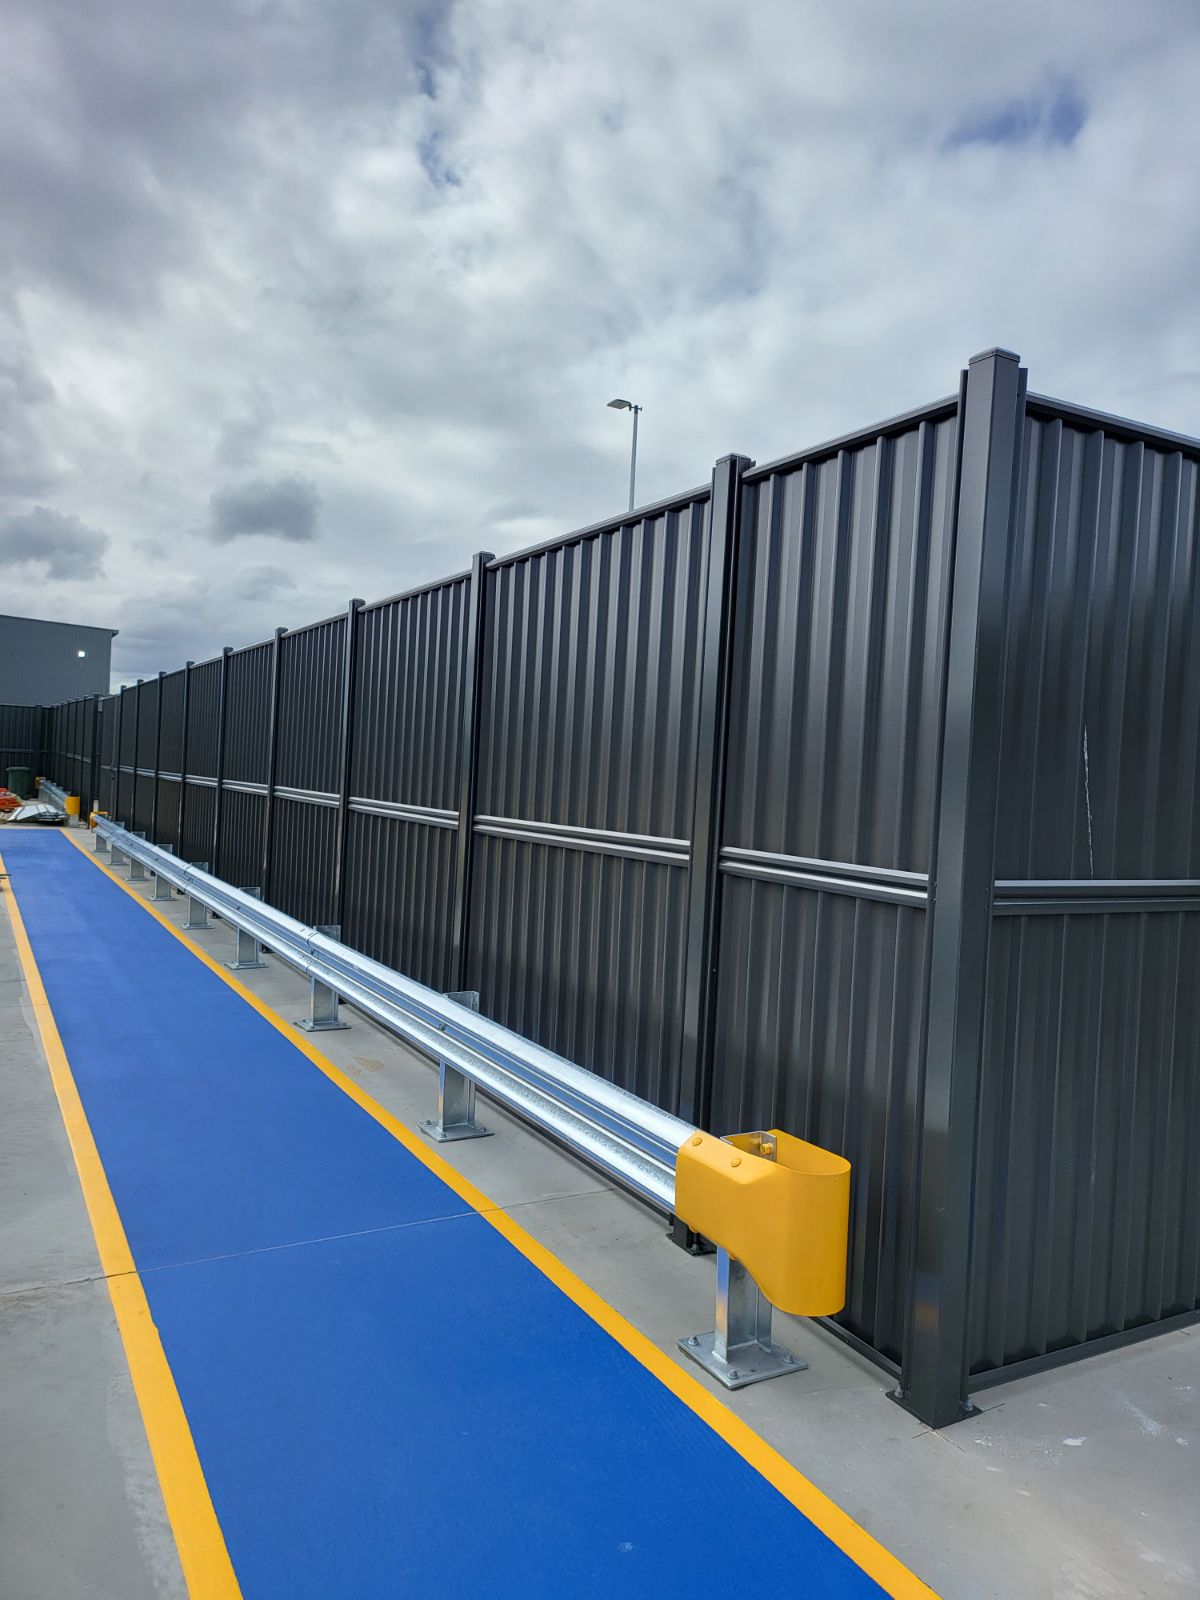
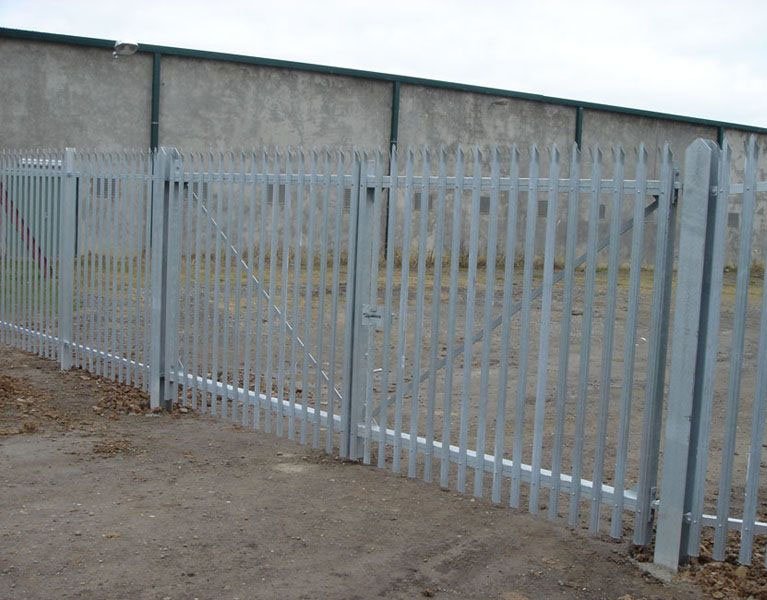
If chipping paint is one of your metal fencing problems, you may want to keep on reading. Chipping, flaking, loose or peeling paint – all stand for having a fencing problem you would rather not have.
There are very few things less frustrating than finding that some parts of your fence have started flaking. What might be the reason? Most likely incorrect or inadequate preparation before painting the fence.
How to keep a painted fence from flaking?
The most simple answer would be that you need to make sure that the paint will adhere to the surface of your fence and stay there after you have painted it. Unfortunately, if the painting process has been incorrect, you will have to deal with the consequences – loose paint. To prevent that from happening, you will need appropriate preparation to paint the fence (again).
STEP 1: Preparation of the metal fencing surface
Getting it right the first time around means starting with proper preparation of the fence. Meaning, making sure there is no rust, dirt or dust on the metal fence. If there are rusty spots on the metal fence or a lot of loose paint, use protective gear such as gloves, goggles and a mask during the cleaning process. You do not want to breathe in the loose rust and dust particles.
Once the protective gear is on, it is time to remove the rust. How? You can use a steel brush or high grit sandpaper. It is not an easy job to perform manually as it may take a while until you can get rid of the rusty spots. Hence, have patience. However, sometimes some of the rusty spots on the fence can be stubborn. Then try to use white vinegar. Pour it on the fence, give it time to settle for a couple of hours, and then try to remove the rust.
STEP 2: Cleaning the metal fence
Once you have removed the rusty spots from your metal fence, it is time to clean it. Firstly, make sure there is no debris around it. Then you may choose to use mineral spirits to wash the fence. However, if you choose to do that, you have to make sure that when giving your metal fence a rinse with water, all the substance will be removed.
STEP 3: Letting the metal fence dry
Do not apply primer or the paint on a wet surface. It will not adhere properly. Depending on the weather conditions, the time it will take before you can proceed to paint your metal fence will vary. However, it is better to wait a bit longer to make sure the fencing has fully dried.

STEP 4: Adding the primer
Now it is time to apply the primer on a dry fence. Make sure you have chosen the correct primer, as it can make a big difference. The primer should be specifically created for priming metal.
STEP 5: Painting the metal fence
Your last step would be to apply the paint coating. Similar to the primer, the paint should be specifically for metal surfaces. Usually, one coating is not enough. Hence, you may need to apply several coatings. However, make sure that you give enough time for the previous coating to dry (as per the manufacture’s instructions).
If you need to replace or fix your old metal fence, Diamond Fence can help you out. Please contact fencing experts in our experienced fencing team who will gladly help you out with your metal fencing enquiries.
Call us on (03) 9753 4566, shoot us an email at info@diamondfence.com.au or get a FREE online quote.