
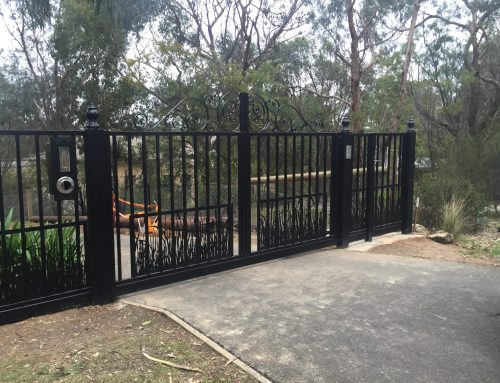
Time To Boost Your Metal Gates.
Before jumping headfirst into painting your metal gates, be aware of a few previous steps you need to follow. Below you will find tips on how to make sure your freshly painted metal gate will keep its new look for longer. Therefore, how to paint metal gates?
If you think about the metal gates, you image the gate posts and the gates. For an easier preparation for painting and the painting itself, if possible, lift off the gates from their hinges and place it on the ground, or if you have a stand you can use as the base during the painting of the gate, then on it (e.g. two saw horses).
STEP 1:
The first, and very important step, is to prepare the area around your metal gates. You want to make sure that the surrounding area is protected from getting the paint on it. At the same time, you need to assure that once you start painting the gate, all the dust and debris around won’t stick on the freshly painted gate(s). You can use a dust sheet. Place them on the floor or the pavement, depending on your location, to protect it from getting the paint stains across it.
STEP 2:
Be aware of your own safety. Your safety starts with wearing appropriate safety or protective gear. Call it however you would like, but make sure you are wearing them. Safety gear during the painting includes work gloves, dust masks and safety goggles. Sometimes, when working with chemicals, you will need to wear an approved respirator as well.
Be also aware of the surrounding environment and hazards it may hide. For example, when you want to lift the metal gate off its hinges, you may use a ladder. Therefore, make sure there are no loose items around and that the ladder is dry and not slippery. Unexpected falls cause many work-related injuries!
STEP 3:
Once the area has been prepared for painting, it’s time to prepare the gate and gate posts. You will need to remove the rust and the old flaky paint. Use a wire brush to do it.
If you want to know more about removing rust from a metal fence or metal gate, take a look at our older blog post:
METAL FENCE RESTORATION
STEP 4:
Once the rust and old paint has been removed from metal gates and posts, make sure the metal surface is smooth and ready for painting. Use sandpaper to smooth any rough spots that were left behind after using a wire brush. You should also wipe down the gate with a cloth as it will allow removing any dust and dirt on it.
STEP 5:
The second last step is to apply primer to your metal gates and posts. What’s the purpose of a primer? It fills the gaps left by rust, hence preventing further corrosion. Once you have applied the primer, let it dry. The time required for the primer to dry depends on the manufacturer’s guidelines. Knowing the guidelines concerning the primer and the paint is also a part of your safety measurements.
STEP 6:
The last step would be to paint the metal gates and posts. You can use a spray gun or a brush to do it ( the same applies to primer). You need a suitable exterior metal paint for your gates. Once that is done, all is left is to let your metal gates and posts to dry!
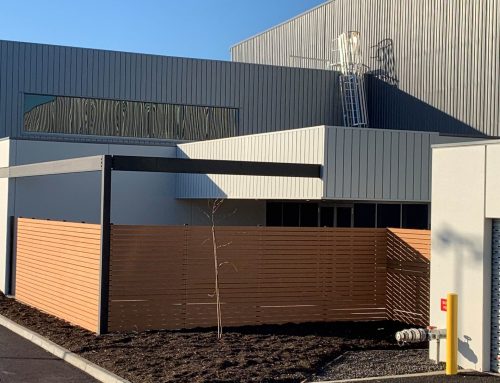
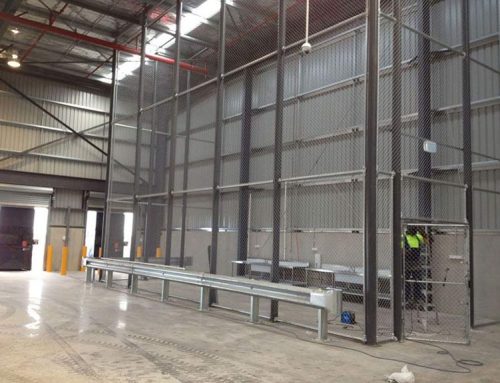
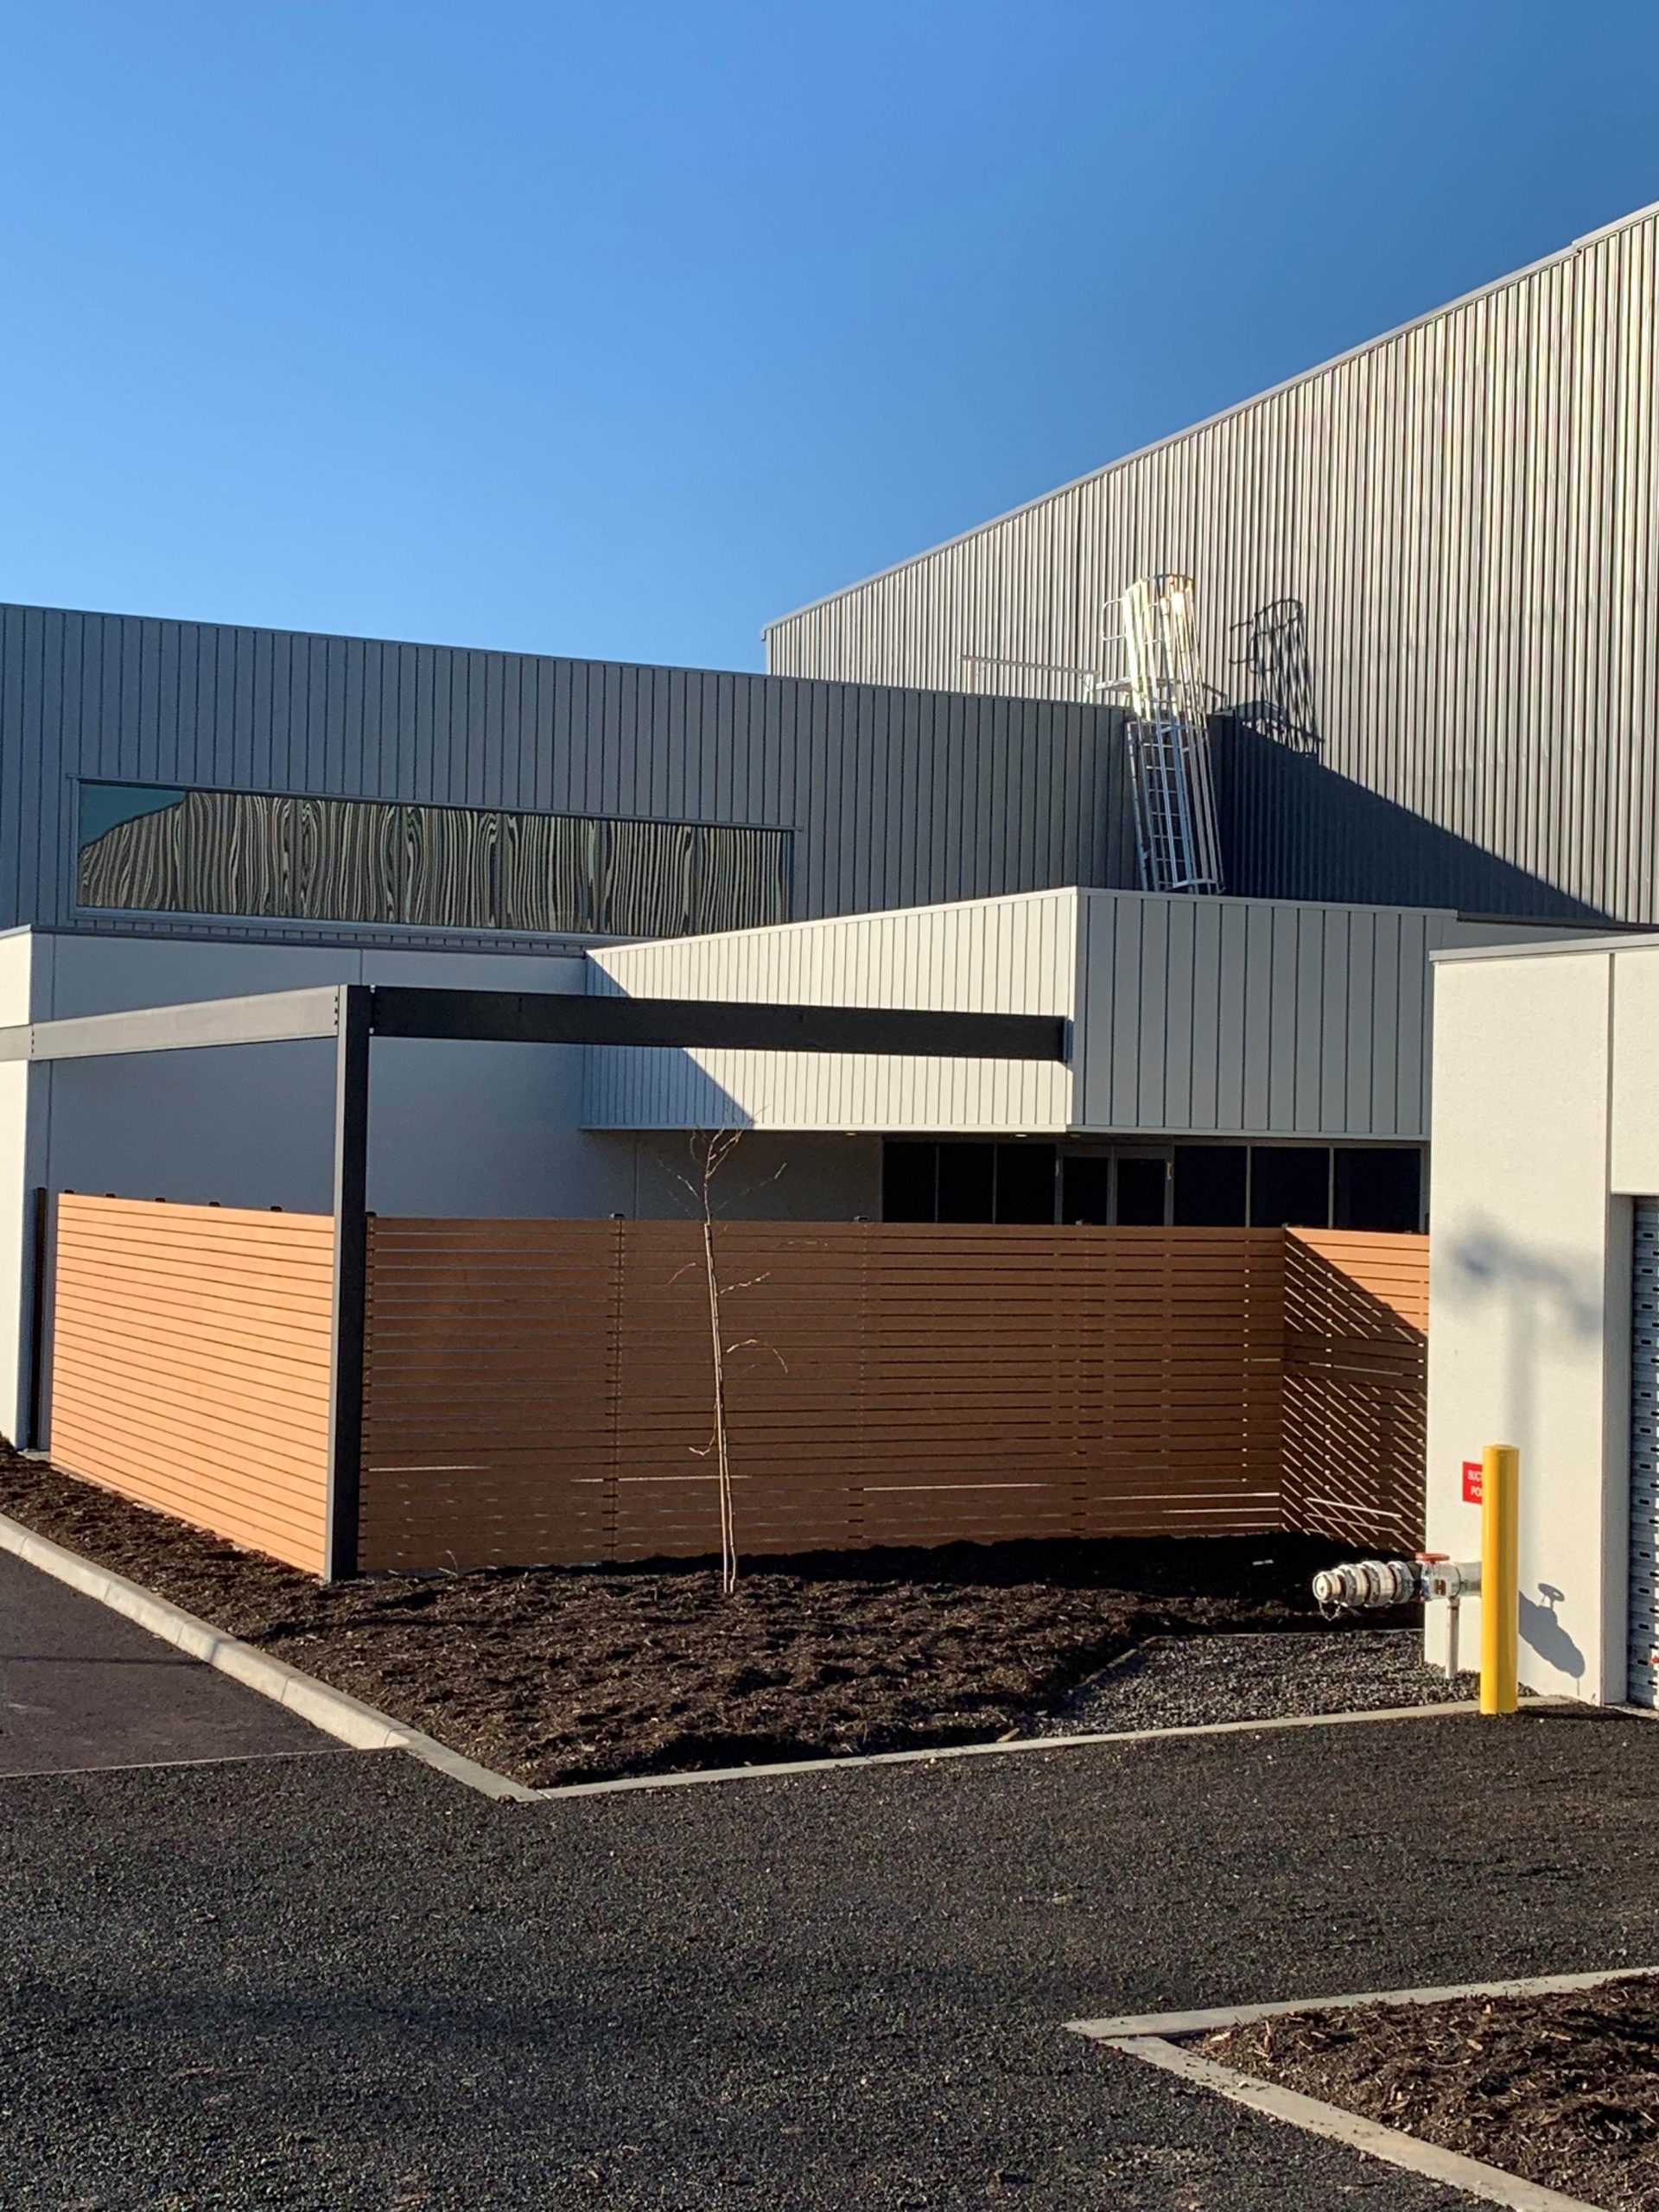
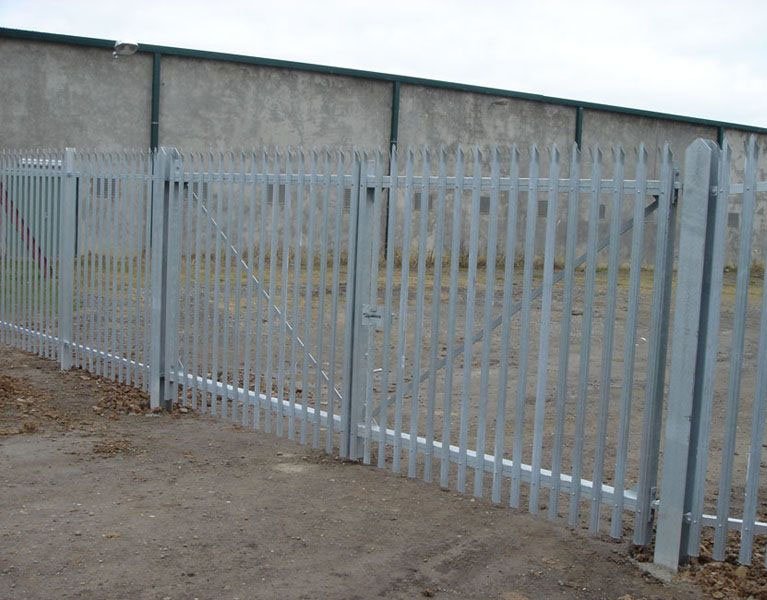
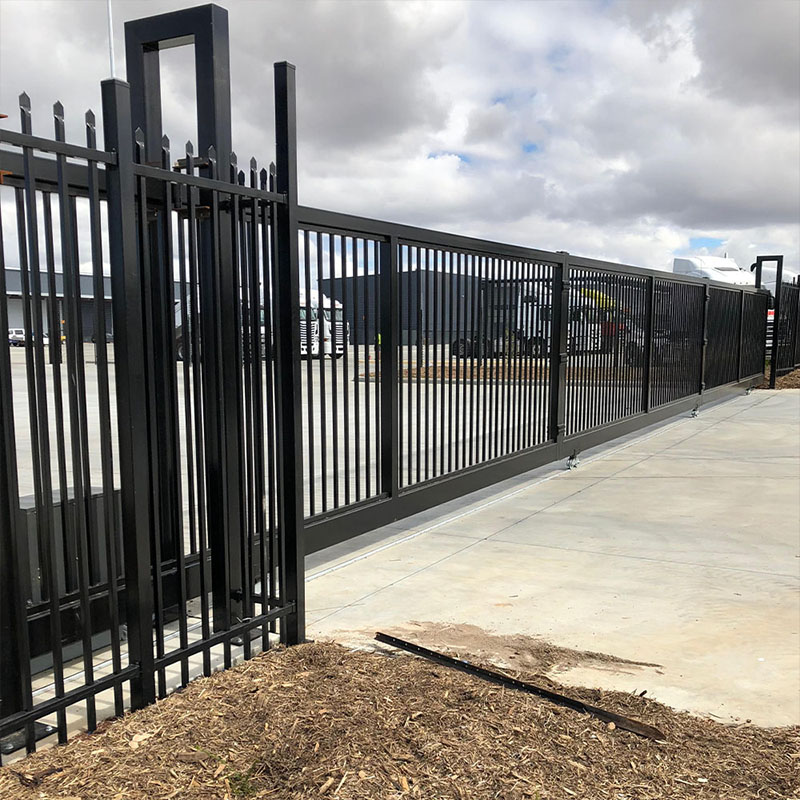
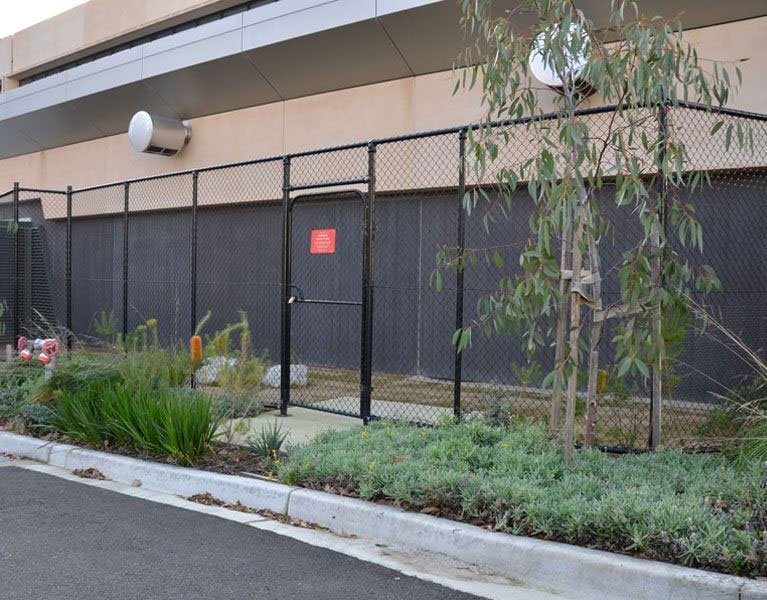
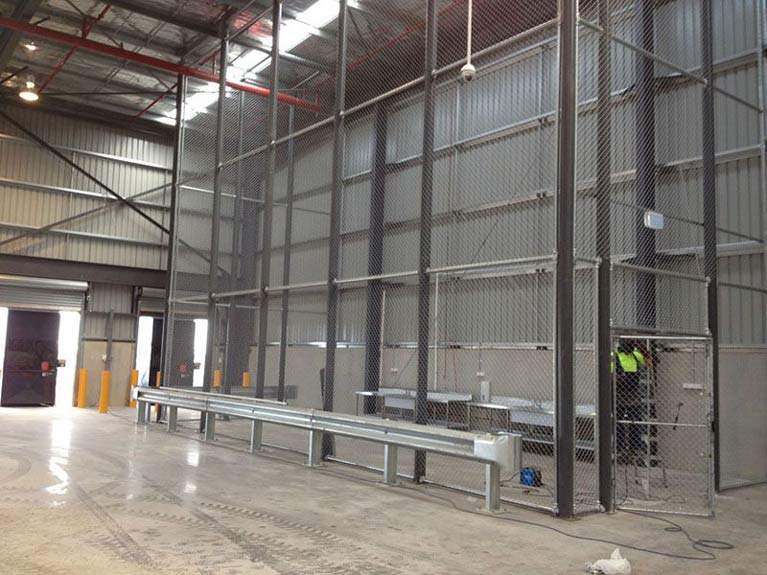
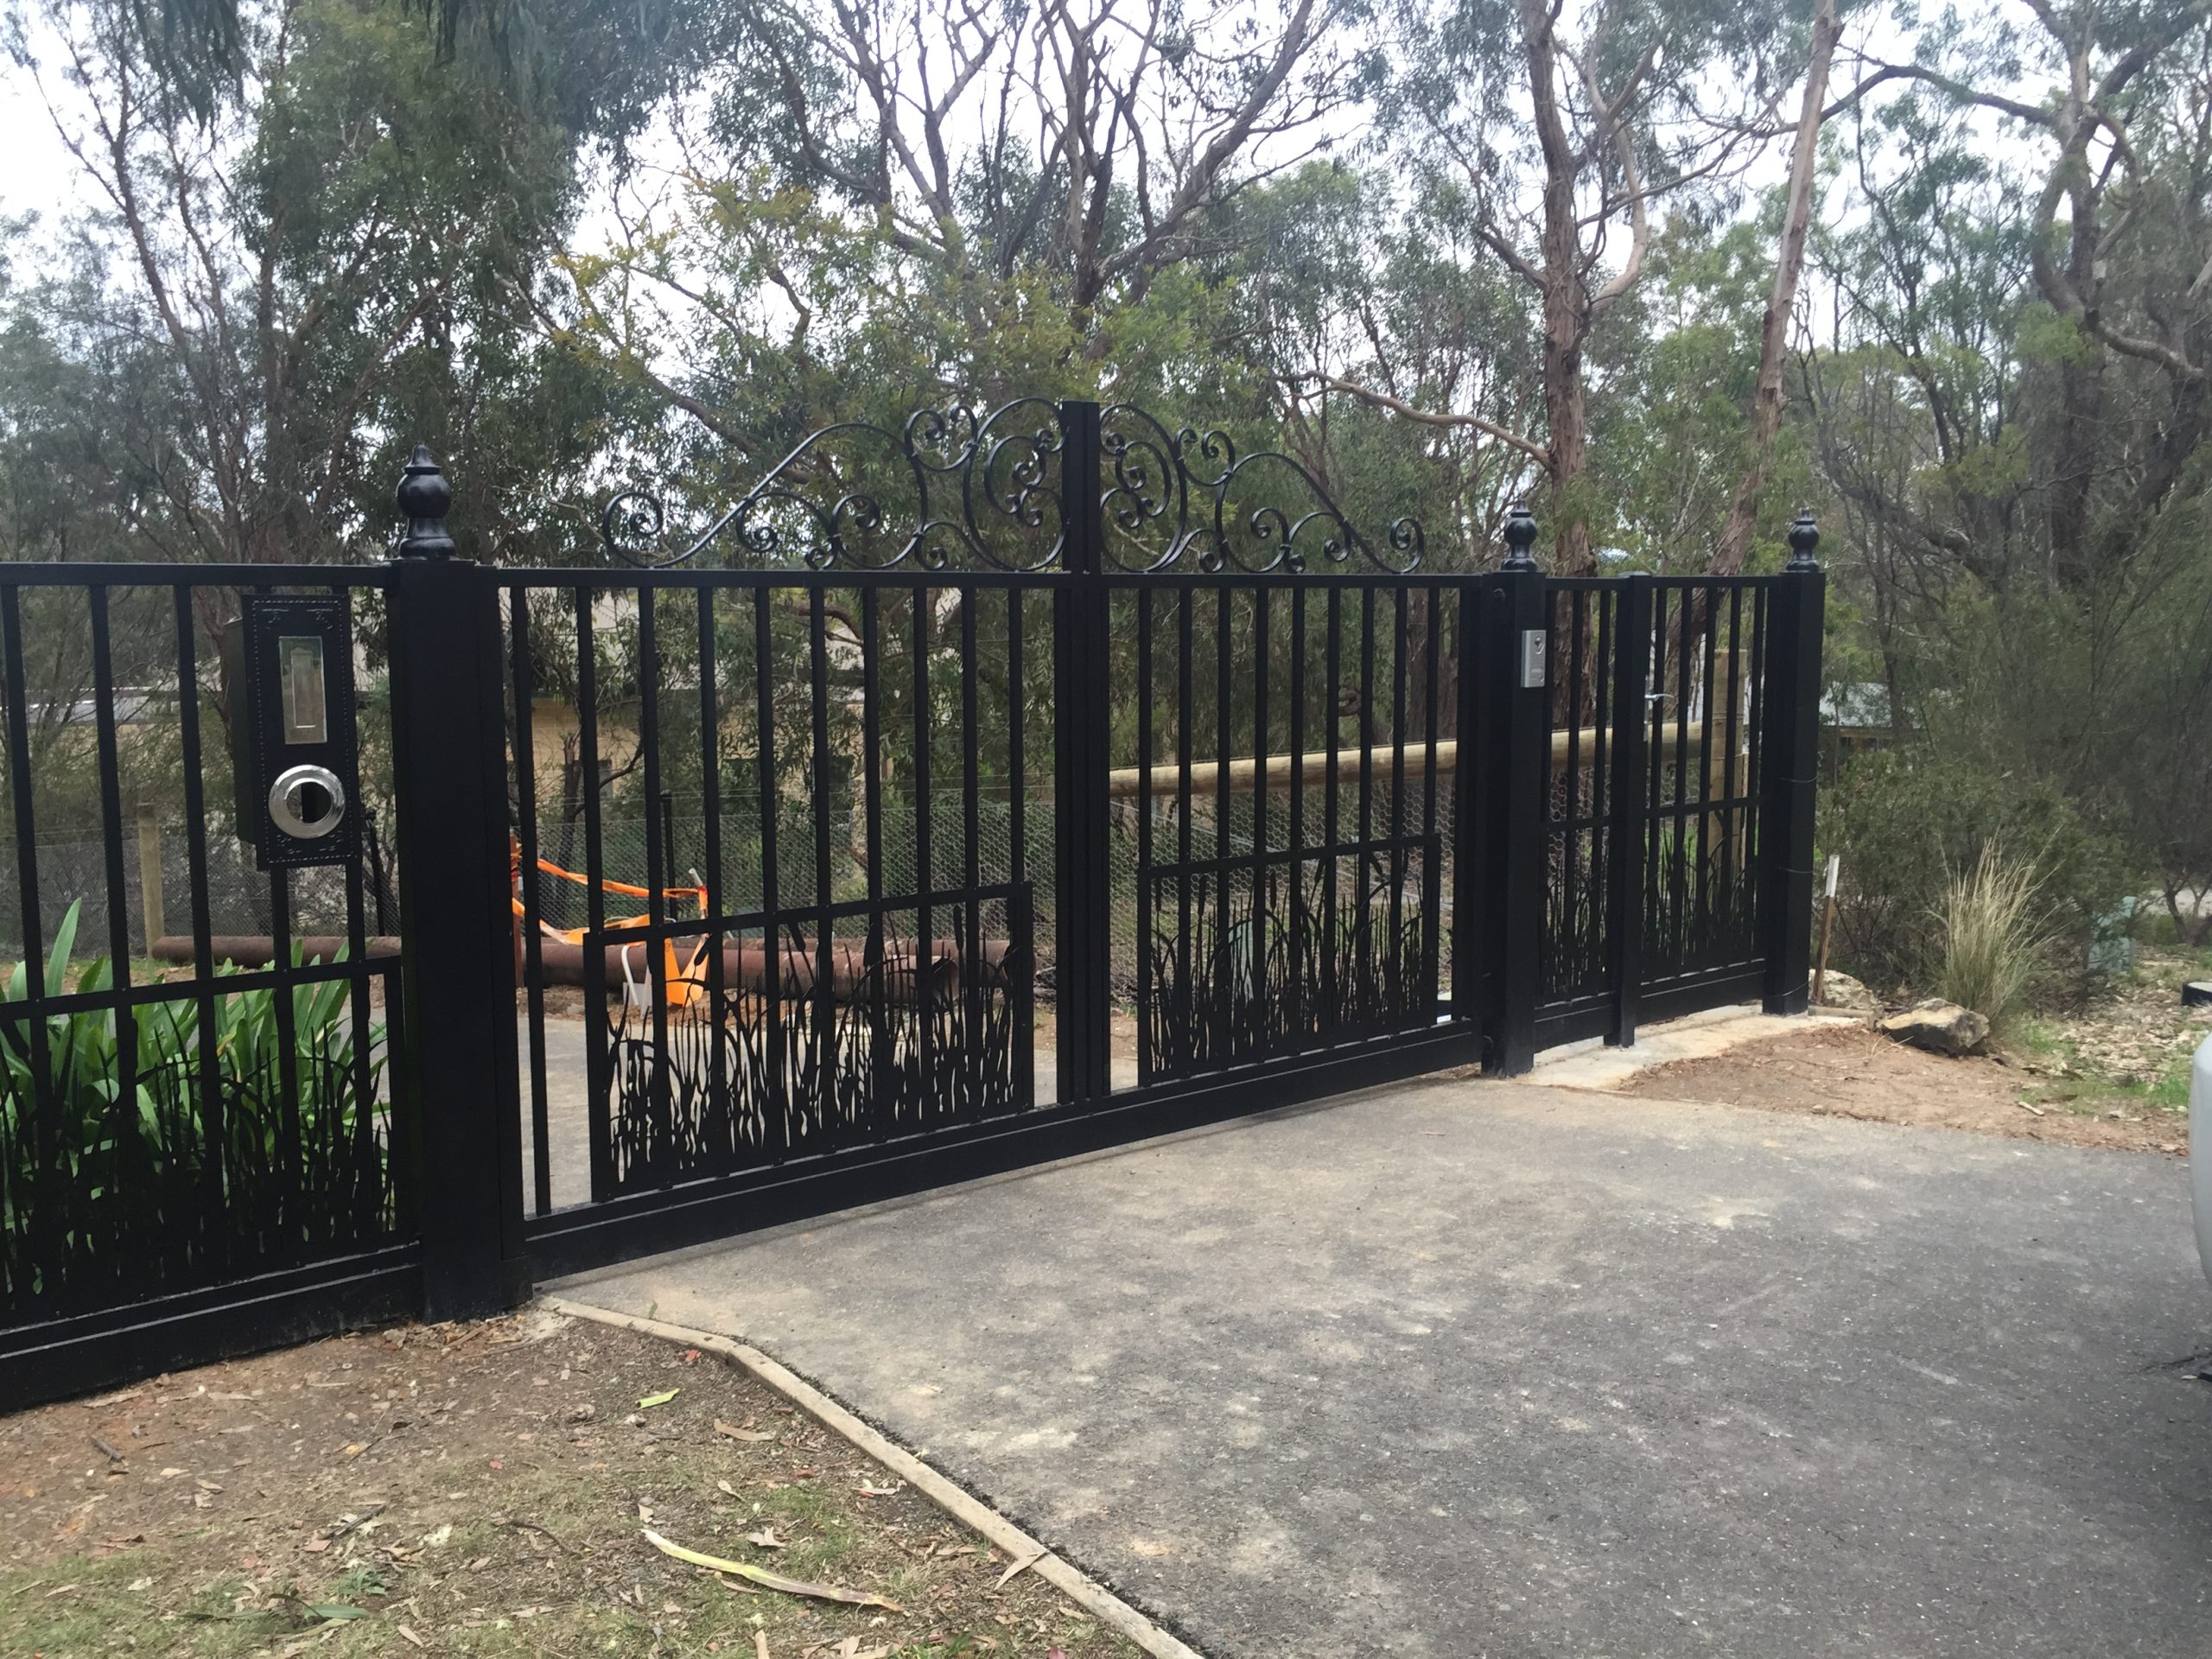
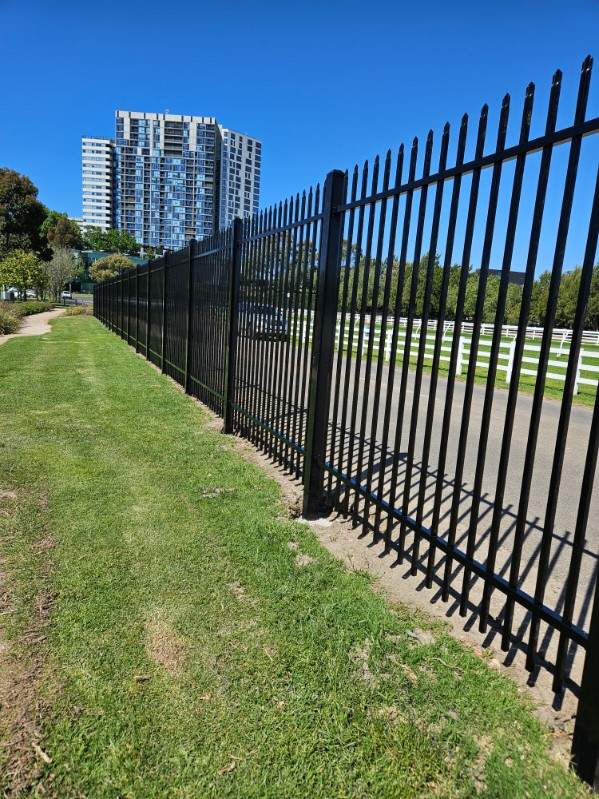
If painting your metal gates is not an option and you need to replace them, turn to Diamond Fence. Our metal gate experts will help you out!
Give us a call on (03) 9753 4566 , shoot us an email on info@diamondfence.com.au or just get a FREE online fencing quote.